Using Konekt Cloud Webhooks To Route IoT Device Data


In previous articles, we introduced the general theory of operating our Konekt Cloud, as well as demonstrated the simplicity by which our own hardware can be used to send data to our Cloud. In this article, we introduce our Cloud’s custom webhooks feature, an alternative to routing data to one of the apps already listed in our app marketplace.Although it might seem simple at first, one of the most powerful capabilities a user has with Konekt’s Cloud is through our webhooks feature.
Webhooks allow your IoT device data to be sent to a third-party web server
Once there, your own code can be executed asynchronously to process or act upon the data received. From there, you can send data to another server online (e.g. to some web service), store data in a database, and even react to the data by managing your device(s) and/or sending data back to your device(s) via Konekt’s APIs. Webhooks offer infinite flexibility to process, react, and control Internet of Things (IoT) devices whenever they send data to our Cloud.All data that passes through our Cloud should be published to one or more topics. Topics are communication channels that contextualize data---think of them like hashtags on social media. When using our Cloud APIs to publish to our Cloud, devices are able to indicate the topic channel(s) the data should be published to; additionally, data is also tagged with additional contextual topics based upon things like what type of data it is and what API or entry point was used to inject the data into our Cloud. Once data is published to a topic channel, routing rules may be added to route matching data to third-party apps. In this example, the app we will route device data to will be our Custom Webhook URL app.
Getting Started With Routing Rules
First, before sending any data to a device, let’s create a routing rule. (Note that topics themselves need not be created---they are created automatically when a device publishes to a given topic name.) To do this, perform the following steps:
- Proceed to https://dashboard.konekt.io and login using your account
- Proceed to the Data Logs page via the navigation menu on the left
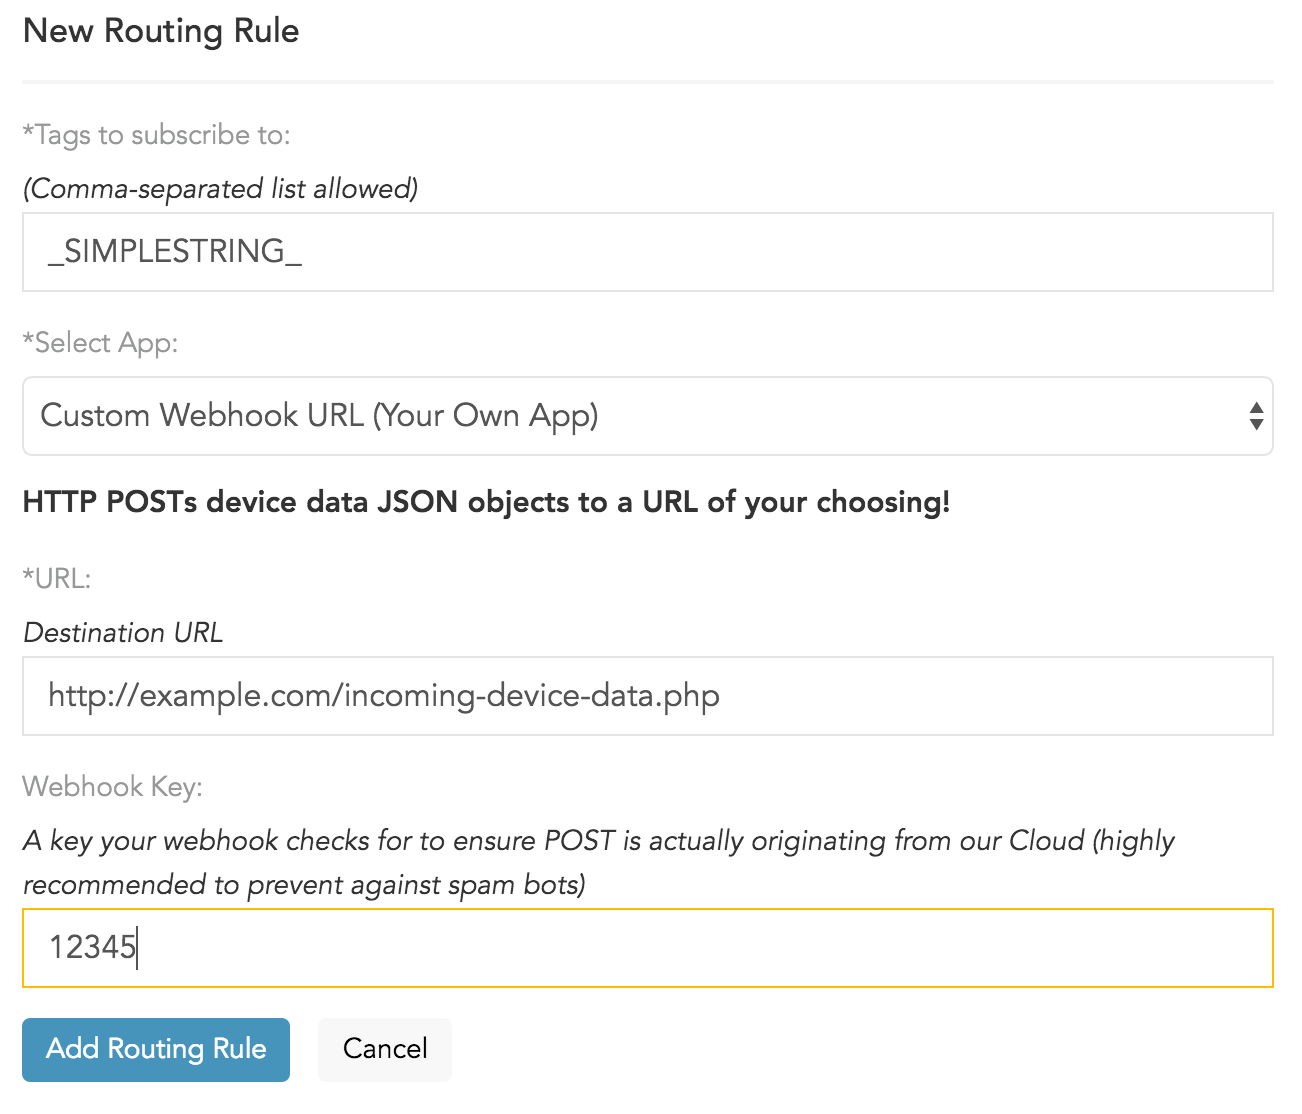
- Click the Add Routing Rule button
- Enter one or more topic channels for this routing rule to subscribe to (for the purposes of this example, I am using our Cloud’s Socket API to send device data and our system automatically assigns the tag _SOCKETAPI_ to such data; for simplicity and since I’m feeling lazy, I’ll enter _SOCKETAPI_ in this field, although you will likely want your routing rules to be more specific)
- Enter the destination URL on your own web server of your web app (e.g. http://example.com/device.php) and be sure to include the http:// prefix
- Enter an optional webhook key (you can set this to anything you want; then, in your web app, it is recommended that you verify that this key is correct to confirm that it really is our Cloud talking to your app and not a bot or attacker of some sort)
- Click the Add Routing Rule button to save the routing rule

At this point, all device data published to our Cloud via our Socket API (thus, matching the _SOCKETAPI_ topic channel set in our rule) will be sent to the provided webhook URL as an HTTP POST.Two parameters will be sent via HTTP POST:
- payload - a JSON string representing device data and associated metadata
- key - the optional webhook key entered by the user when creating the routing rule
Here is an example PHP application called device.php that will accept a IoT device data payload, save it to a local flat file, and then display the last-received payload back to a user who browses to its URL in a web browser:[c language="php"]<?php/* hello_webhook.php - Konekt Cloud Webhook Example - server-side PHP** Author: Patrick F. Wilbur** Copyright 2015 Konekt, Inc. This example is in the Public Domain.** This example makes use of a flat file to store the last-reported* device data. It assumes your PHP instance has write permissions* on your server's file system. New payloads overwrite the last.*/if(isset($_REQUEST['payload']))file_put_contents('last_data.dat',$_REQUEST['payload']);$deviceData = file_get_contents('last_data.dat');?><html><head><title>Last Seen Device Data</title></head><body><?php echo $deviceData; ?></body></html>[/c]Now, add a database connection, put on some relaxing jazz music, and take a nap---you just finished your first IoT web integration!
Final Thoughts
Note that the payload object will be JSON, and it will contain a key called “data” containing the data sent by your device (which will be Base64-encoded so that we don’t break your web app by sending it binary). Feel free to Base64-decode your device data whenever it is convenient for you---in PHP, this is done with the base64_decode(...) function, and every major language has its own variant as well. There is additional metadata (such as a timestamp for when the data was received by our Cloud) contained within the JSON object, so we encourage you to take a look for yourself and see what capabilities it contains!
UPDATED (April 20, 2016) - Replaced Topics page with Data Logs and Data Routes. Replaced screenshots to reflect this change.[wpi_designer_button slide_id=559]
Get started with Hologram today
- Talk to an IoT expert
- Receive a free SIM
- Customize your plan